...
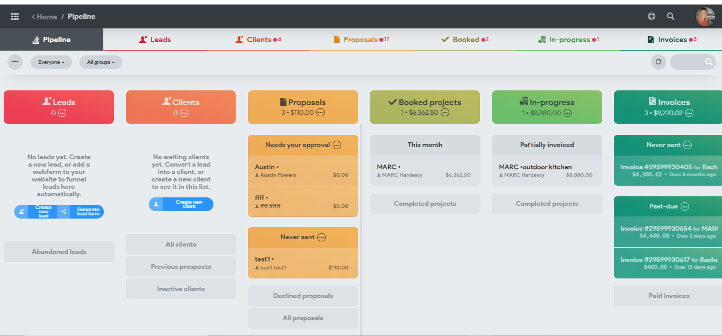
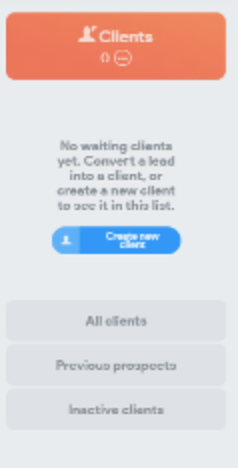
When you open your Cost Certified you will be viewing your Pipeline. This is basically an overview of the life cycle of all your current jobs, from Lead to Invoice. To Create a new Customer simply click “Create new Client” in the Clients section.

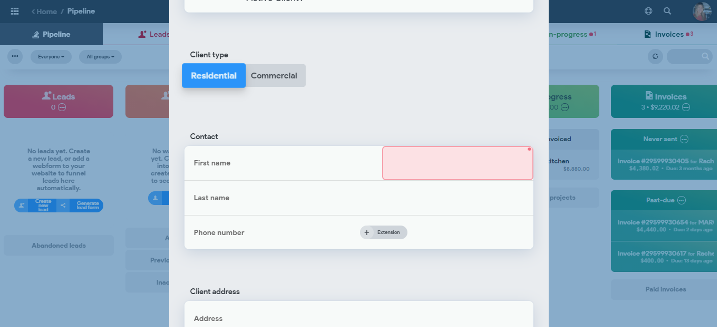
Once you open that it will prompt you for their details. The first one is the email, which is important because this is the email that the proposal will be sent to, and how they will be able to change their selections.

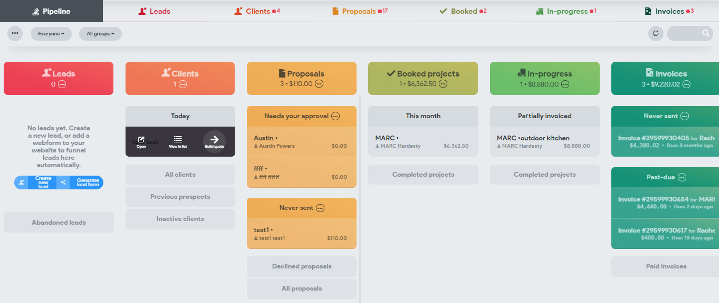
Once Client information has been entered, hover over their name with your mouse and select “Build Quote” which will open you to a blank proposal.

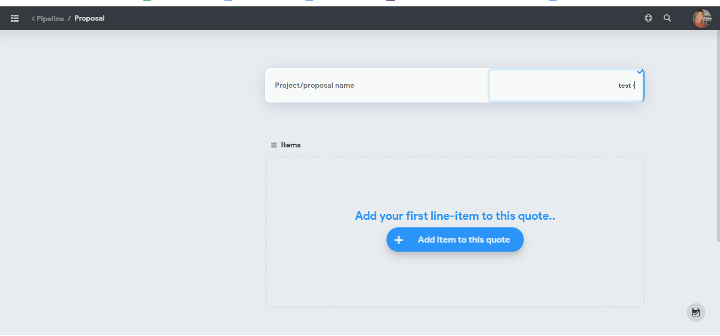
This opens you up to a blank proposal. You can change the name of the Proposal at the top if you wish. Then, you are ready to start adding items. Simply click the blue “Add items to this quote” button which will open you to your Item Library.

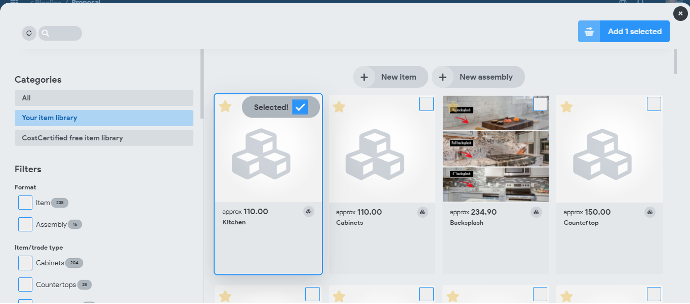
You are now open to you Items Library. There are two variations of things you can add.
An Item is an individually priced product/service,
and an Assembly is a group of items contained in one folder, so the price on the assembly will be the price of all the items contained in it. (Ex. Kitchen is an Assembly(as denoted by the 3 cubes stacked together, an item shows only one cube) because it has multiple Items/Assemblies contained inside it like Cabinets, Countertops, Etc.)
To add that assembly, check the blue box in the corner and then click “Add 1 Selected”.

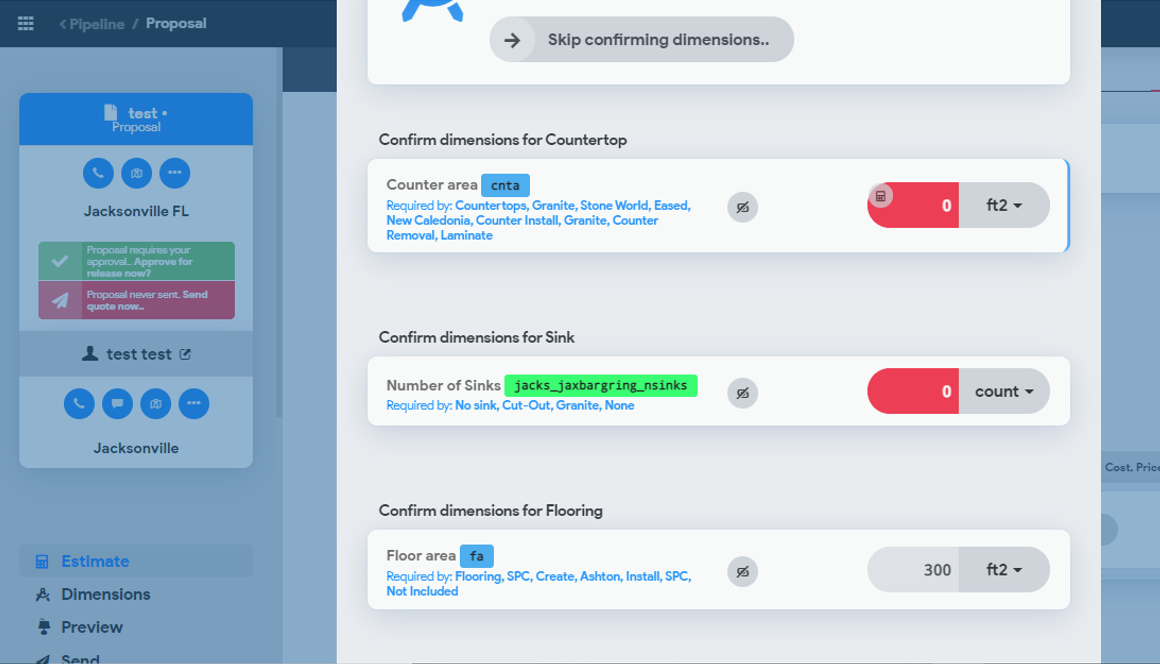
Once you add the Assembly, a box will show prompting you to enter all the dimension that are used inside that assembly. Be sure to look at the unit of measurement and name of the product. (Ex. The first item is for countertops and is calculated in square feet)
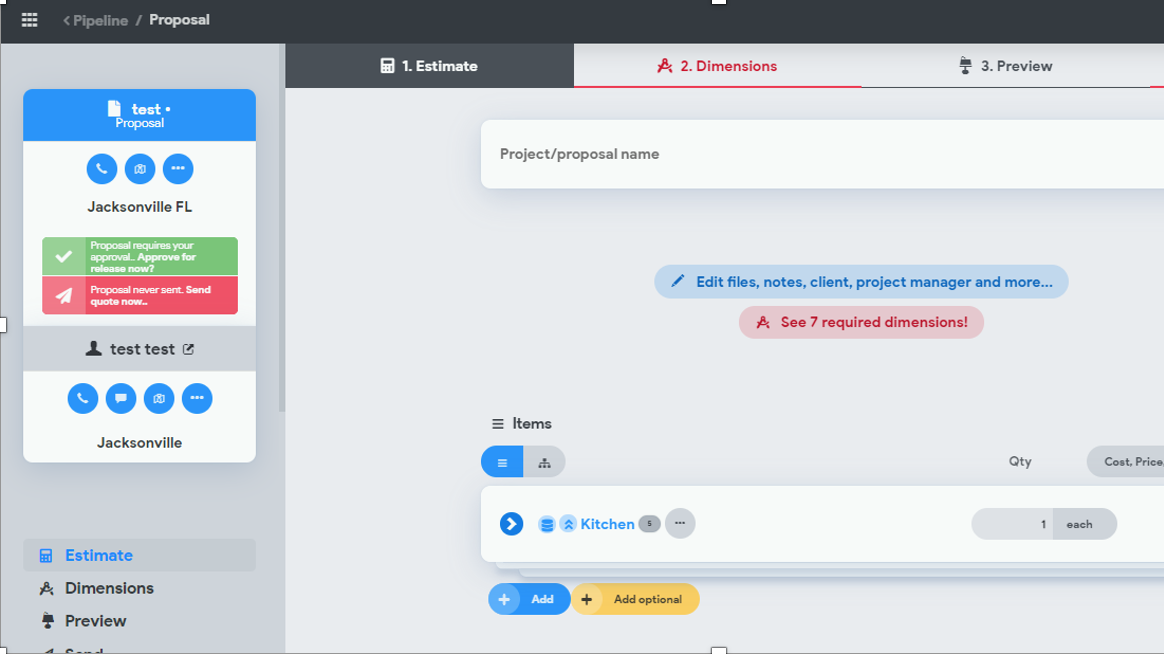
Once the dimensions are entered, you should see the assembly price adjust. To see what’s contained inside your assembly and to make individual selections, click the blue “>” just left of Kitchen.
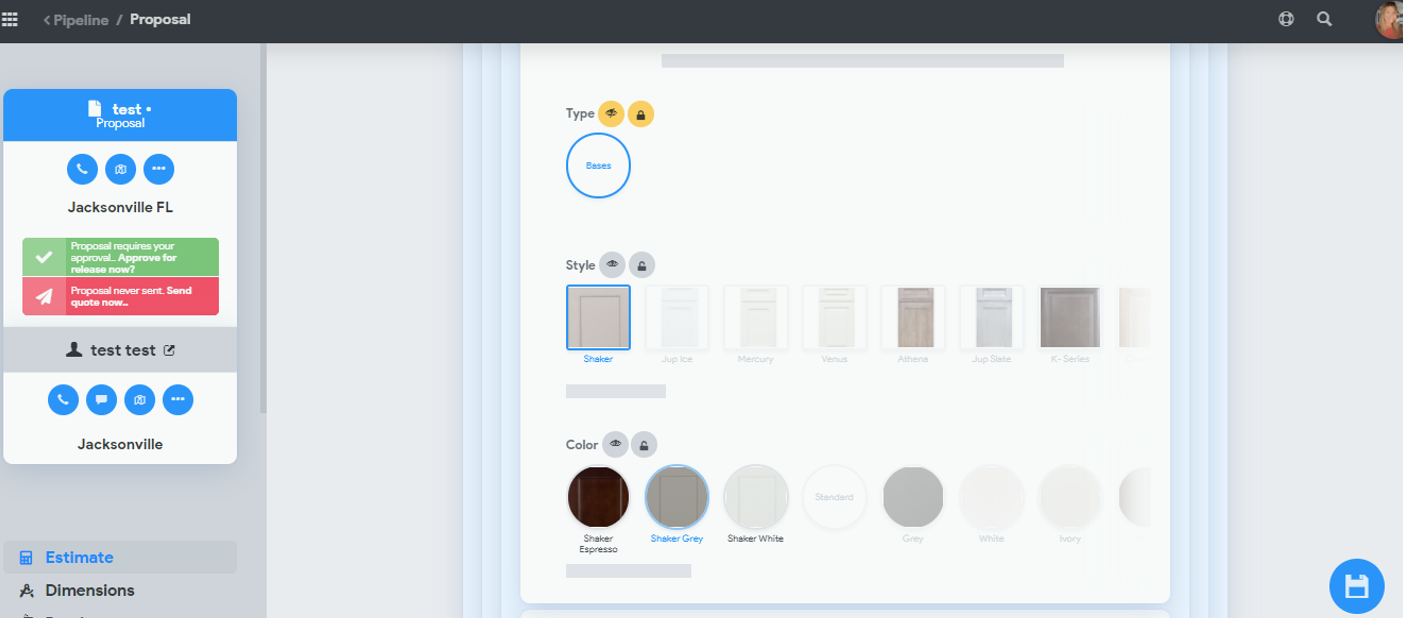
Once inside you can click to make selection (Once clicked give it a second for the prices to adjust). If you want to lock a selection type so your customer can’t change it, you can select the “Eye” and “Lock” next to the Variation to hide it from your customer and prevent them from changing that selection. (I.e “Base”)
If a certain assembly or item does not need to be included in this proposal, click the 3 dots (Actions button) next to the Item and select “Remove”.
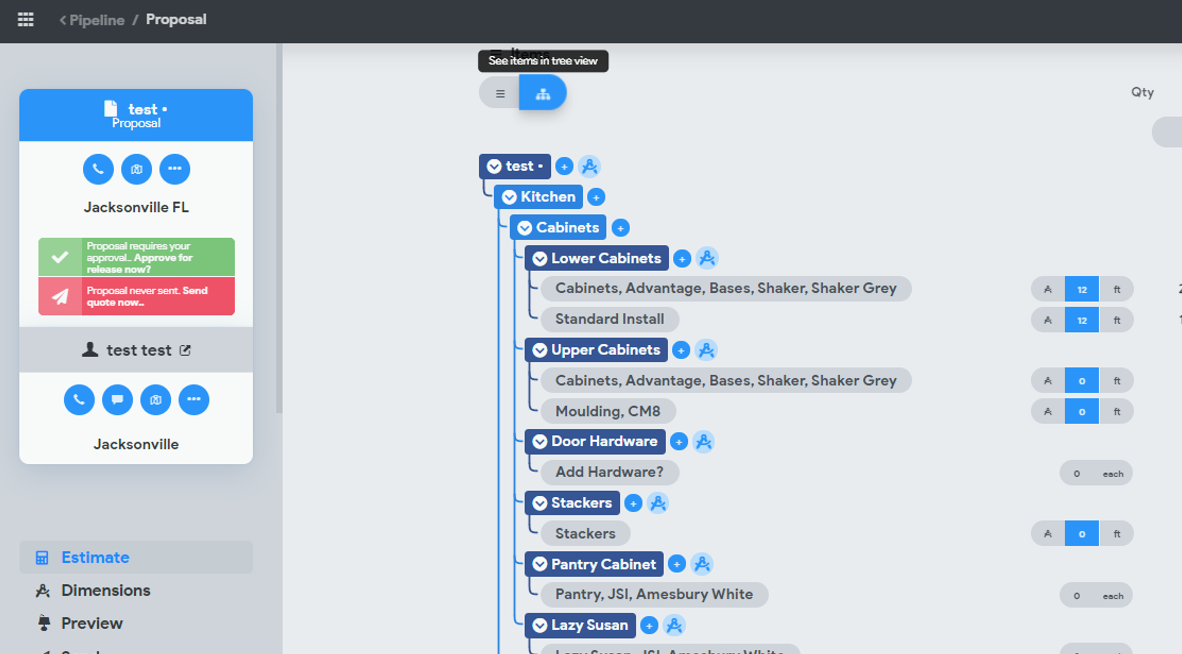
Once you have made all your selections and are happy with your quote, you can scroll to the top and view items in “Tree View” to verify everything was added correctly and there are no mistakes.
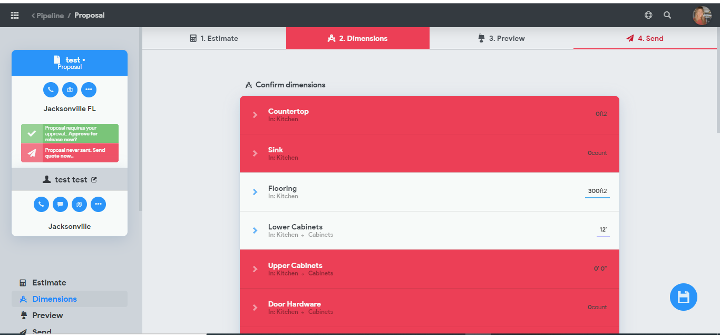
Now you can move to the next phase of your quote. Either on the top of the screen, or the side select “Dimensions” as one final check that your dimensions are correct.

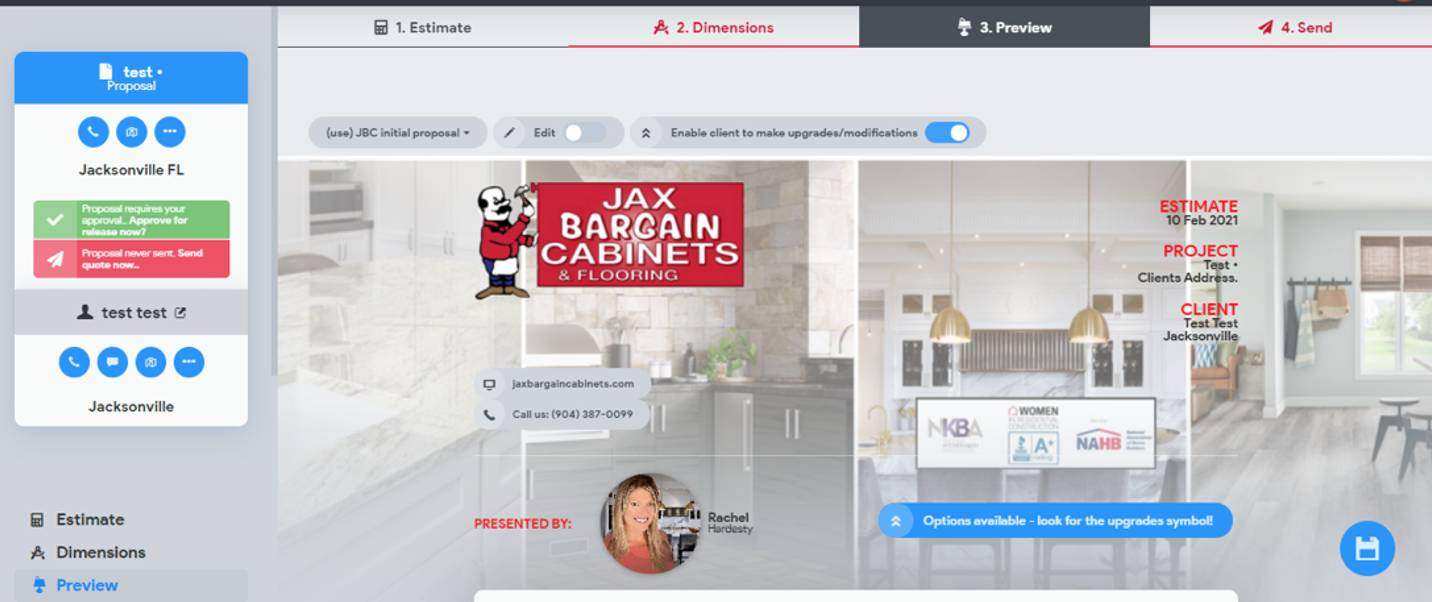
Next you can select “Preview” this is what your customer will see when you send over the proposal. You can scroll through to see the selections they can make and expand the assemblies. If you are happy with that you can click the “Send” box either on the side or top of the page.
This is the final step in creating your proposal. You can type in the box any message specific to this client which they will see in the email that is sent to them. You can also attach project specific files on the tab. Once you have completed this, you are ready to click send. It will be sent to the email we used when we created the client. You will be able to see in your “Pipeline” when they view your proposal, as well as any changes they request. When they open the proposal, they will have a button on the bottom to “Accept” . This is where they will accept all “Terms and Conditions”.
...