Creating a client is the first step for sending out a proposal. When you go to send a proposal you can select an existing client or create a new one. https://www.youtube.com/embed/S20Fmljazus?list=PL9TwYOaeuaFBSm6pGTfwUbOxBLmM-7DAJ
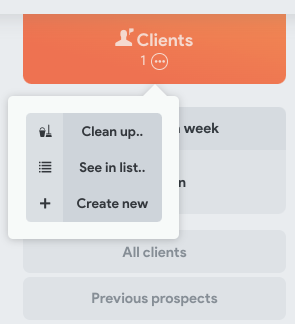
From the Pipeline view, click the 3 dots on the “Client” header and select “Create new.”
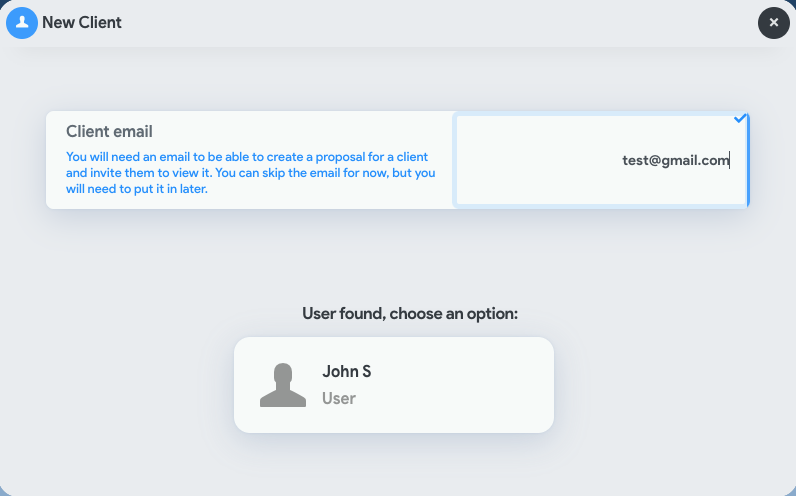
Enter the client’s email address.
If they have already been added to CostCertified (even if they aren’t in your company’s account), the system will recognize them as an existing user and ask you to select them.
Follow the steps to input the client’s information. Once complete, click “Save” on the bottom of the screen.
NOTE: You can choose to create the client as a “lead” instead of an “active client” if you’re not ready to send them a proposal yet.